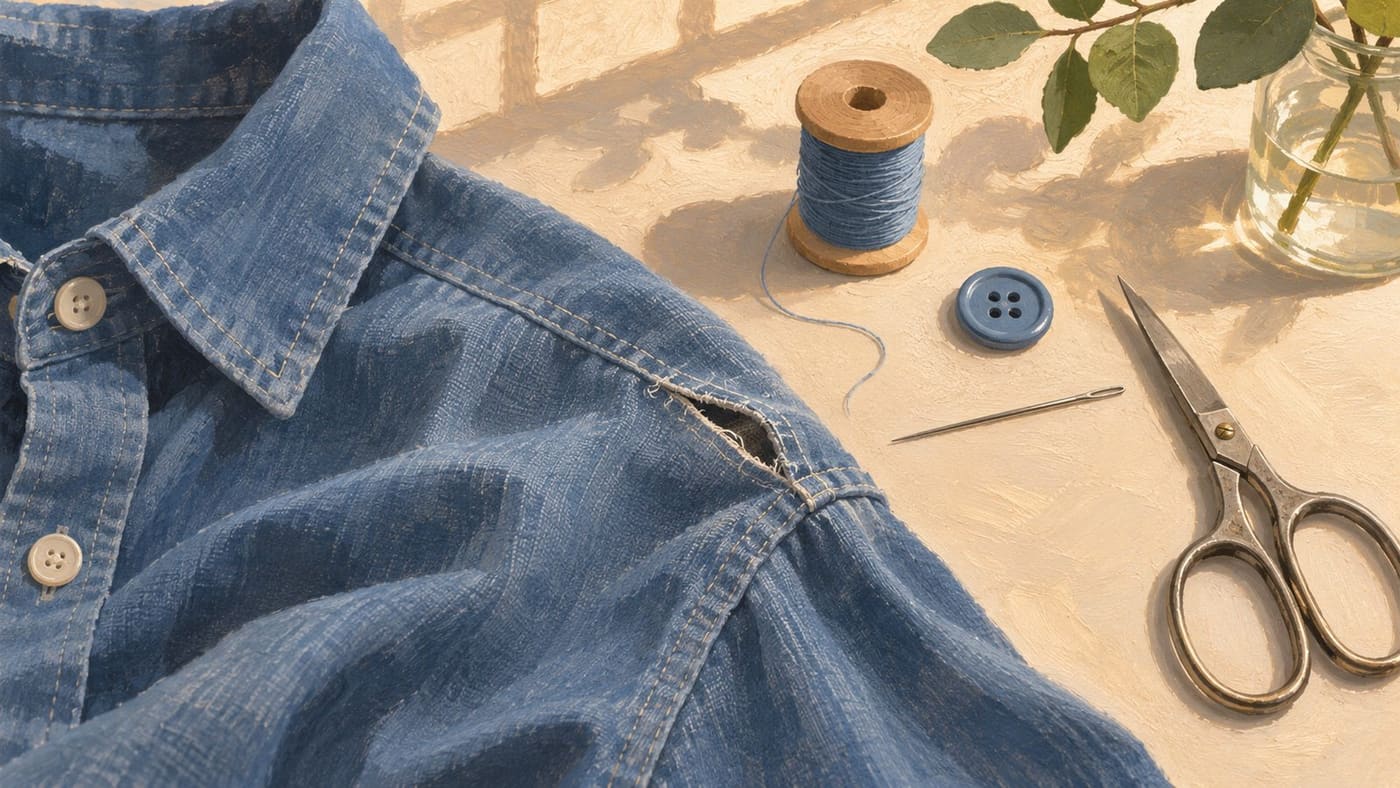
A loose shirt button and a split trouser seam can both send a garment to the back of a cupboard. The repairs begin in the same way. Put the garment on a table, find what has actually failed and decide whether the surrounding fabric is strong enough to hold a stitch. Sometimes the repair takes less time than finding a replacement. Sometimes the best use of ten minutes is to discover that the damage needs a different approach.
This guide is for ordinary adult clothing. It starts with two small jobs: reattaching a flat button and closing a short opening along an existing seam. A few checks before sewing will help you avoid shifting a button out of line or pulling a seam into a hard ridge.
Find the difference between a broken stitch and a torn cloth
Turn the garment inside out if the construction allows it. Look at the ends of the opening. If both pieces of fabric still have their original edges and the thread between them has broken, the old sewing line may show you where to work. If the cloth itself has torn away from the line, sewing through the remaining threads can enlarge the damage when the garment is worn. The new stitch needs sound material on both sides.
Check the fabric beside a missing button too. A little thread left in place can show where the button sat. A hole left by a button pulled through the fabric tells a different story. Reattaching the button over weak cloth won't restore the cloth's strength. Stop to consider reinforcement or ask an alterations shop if the area is thin, lined or difficult to reach.
Flex the fabric gently and look at an undamaged part of the garment for comparison. A woven shirt and a stretchy knit don't respond to the same stitch in the same way. A short repair in a stable shirt seam is a better first job than a long opening in a highly elastic garment. Set aside protective or specialist garments whose construction is part of their function.
Put a small kit together
Use a hand-sewing needle suited to the cloth, thread, small scissors, and good light. A chalk mark or removable marker can help locate a button, but test it on an inconspicuous area first. A pin or clip can keep two edges aligned while you work. Keep unused pins in a container and count them back in when the job is done.
Choose a thread colour in daylight if matching matters. Check a spare button on the garment or among the pieces kept from earlier repairs. If there is no match, the important measurements are how the button fits through the hole and how it sits beside the others. A slightly different colour may be acceptable. A button that is too large to pass through its hole will stay frustrating even if the stitching is neat.
Give yourself a clear area of table. Flatten the part you want to repair and fold the rest away. Before the first stitch, put a hand under the layer you mean to sew and check that you haven't caught a lining, pocket or the back of the shirt. It is easier to move those layers now than to unpick several rows of thread later.
Put a flat button where the opening needs it
The Kansas State University extension apparel handout covers sewing on a button. A four-hole button repair guide from iFixit and Patagonia shows how to use the buttonhole to locate the button. You can check the position by fastening a neighbouring button, smoothing the overlap and looking through the empty hole. A small mark on the layer below is more reliable than guessing by distance from the edge.
Compare the existing buttons. If their stitches form parallel bars, use the same pattern on the replacement. If the button needs room for a thick overlapping layer, leave clearance comparable to a sound neighbouring button. A shirt button on thin material often needs less clearance. Test this against the garment in your hands, because too much space makes a button wobble and too little makes it difficult to fasten.
Anchor the thread on the inside of the marked layer. Bring the needle up through the cloth and through one hole, then down through the paired hole and the same layer of cloth. Repeat without drawing each pass so tight that the material bunches. Work the other pair of holes in the pattern you chose. Secure the thread on the inside. Before trimming, check that the button sits upright, doesn't feel loose and passes through the buttonhole without pulling the placket out of line.
Close a short opening in a stable seam
Work on the inside where you can see the original line of stitches. Bring the two fabric edges together in their original arrangement. Check for a seam allowance, the fabric between the stitching and the cut edge. If the allowance has frayed back almost to the old line, there may be too little sound cloth to hold the repair. Stop before pulling the two sides further in and making the garment smaller at that spot.
If the material is sound, hold the two layers together with a clip or a pin away from where the needle will pass. Start a little before the opening, on the part of the old seam that is still sound. A backstitch is one option for a small woven seam. The extension handout on popped seams recommends extending the new stitches onto intact sections at both ends. Bring the needle out a short distance along the intended line, go back into the preceding stitch position, then bring the needle out a short distance ahead. Each visible stitch on the working side meets the preceding one. Practise on a scrap if the movement feels unfamiliar.
Keep the stitches short enough to follow the existing line and loose enough that the cloth lies flat. Avoid sewing over a pin. Continue a little beyond the other end of the opening, anchor the thread and turn the garment right side out. Check the seam while the garment is flat before putting it on. If a pucker appeared, identify the few stitches pulling the fabric before removing them. Rework just that section if the rest lies properly.
Seams around pockets, waistbands and linings may have more layers than you can see at first. If a pocket has become sewn shut, the repair has caught material that should move separately. Separate the layers again and decide whether you can reach the damaged seam from another direction. A small repair is easier to control when you can see both sides of the stitches as you work.
Learn what the first attempt tells you
Suppose the shoulder seam of a woven shirt has opened for the width of two fingers. The fabric on both sides is intact. When you line up the original stitching, however, one side extends beyond the other. Before sewing, check whether one layer is folded under or caught on a loose thread. Align a point at each end of the opening and compare the distance between them. If the edges still do not match, the garment may have been shaped or eased there during construction. Treat that as a reason to pause and examine the sound shoulder, rather than pulling the layers until they match.
Suppose instead that the centre button on a shirt has come loose. It fastens, but the cloth pulls sideways. Look at the line of the other buttons and the edge of the overlap with the shirt fastened. If the button is in the wrong place, strengthening its stitches won't correct the alignment. If the position is right and the button still pulls when the shirt is worn, there may be a fit problem. Moving the button a little is a different alteration, and it can affect how the shirt hangs. Decide what you are trying to fix before changing the fit.
A practice scrap can help with both problems. Use a piece of similar thickness and put two layers together. Sew a few backstitches, turn it over and notice how the stitches look from each side. Pull gently across the seam and see what changes when the thread is loose, snug or tight. Try fastening a spare button through a suitable scrap opening before sewing on the garment. This exercise won't reproduce every condition of wear, but it can make the first attempt easier to read.
Test the repair in ordinary use
For a button, open and close it several times. Hold the cloth near the repair and look for a shift in the surrounding fabric. Compare its movement with a sound button. A good first check is that the overlap lies as it did before and that the button can be used without forcing it. If the threads loosen right away, inspect how they were secured and whether the fabric itself has stretched.
For a seam, check the line from the outside and move the fabric gently in the direction it will move during wear. Put the garment on only after you have removed all pins and clips. Sit or reach as you normally would and check whether the repaired area pulls or rubs. If a repair closes the opening but leaves a hard lump against the skin, inspect the thread ends, any folded cloth and the thickness of the seam. It may need a different finishing method.
Recheck after the next wash that follows the garment's care instructions. You may see fraying or a new break beside the repair. That suggests the surrounding material deserves attention. Repeating the same stitch in a weaker place may give the same result. A note about when the failure returned can help you explain the problem if you take the garment to a repairer.
Know when a different repair makes more sense
Some failures involve the material rather than the stitch. Worn cloth at a knee may need a patch with enough overlap to reach sound fabric. A stretched knit seam may need a method that can move with the knit. An opening behind a lining can require access through a different seam. A zip that separates even though its stitching is intact presents another sort of problem. Choosing a method based on what failed can save a garment from an unnecessary second repair.
Consider where the garment will be used and what depends on the repair. Ordinary clothing is a reasonable place to learn. A professional is a better choice for repairs that affect protective equipment or specialised construction. Small attached parts on very young children's garments need particular care. The button guide linked above advises professional repair for that group. The examples here concern adult garments.
Leave one item on the table if you want to build the habit. A short seam in sound fabric or a loose button can be a manageable first job. Put spare buttons and matching thread in a place you can find again. If a repair needs more skill or time than you have, note what you found and where it is. That gives a repairer more useful information than the general description that the garment is broken.
Put the garment back into use
The first measure of the job is whether the garment works. A button should fasten in line with the others. A repaired seam should let the fabric sit and move comfortably. Inspect the repair again after it has been used. That last look can teach you more about thread tension and fabric condition than the first stitch did.
A small sewing kit becomes more useful when you can decide what is worth trying with it. Look for sound fabric, follow the original construction where possible, and use the garment's behaviour to decide whether the repair is finished.
For a wider look at how repair affects daily life, read how neighbourhood repairs can benefit existing residents.
Sources and research note
Sources checked November 3, 2026. The extension handout and iFixit and Patagonia guide inform the button repair. The clothing scenarios and illustration are conceptual examples. No garment was tested for this article.