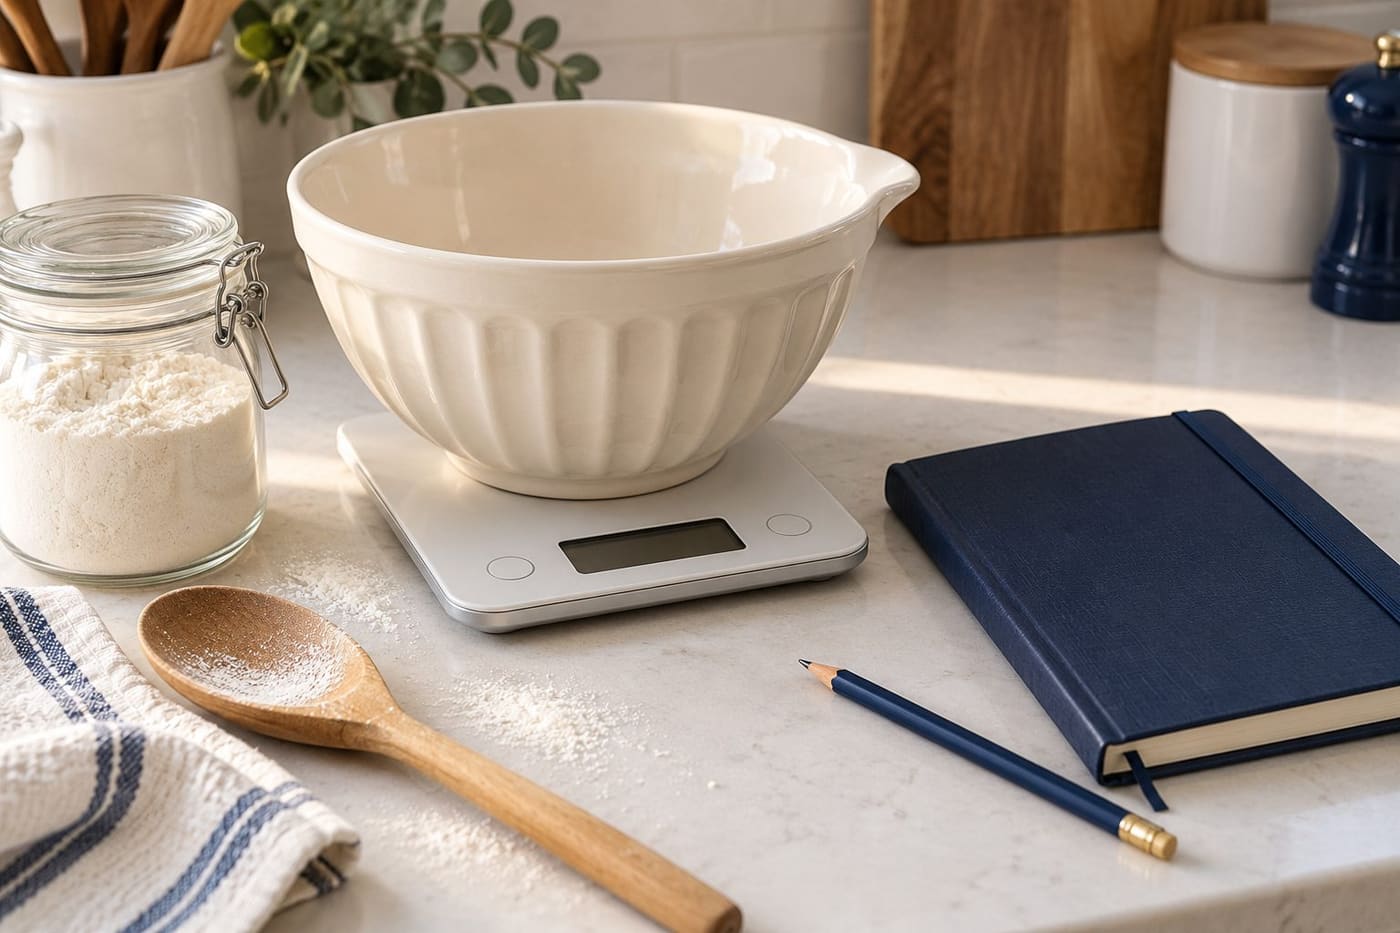
When a bake turns out differently from the last attempt, memory is often an unreliable recipe notebook. You may remember using the same ingredients but forget a different pan, an extra spoonful of flour or a shorter cooling time. A few useful notes can make the next attempt easier to plan without turning a home kitchen into a laboratory.
The purpose of a baking record is to preserve decisions and observations. It does not guarantee a perfect result or identify every cause of a disappointing one. It helps you distinguish what you actually did from what the recipe said, then choose a sensible question for the next batch.
This guide offers an original note-taking workflow and hypothetical arithmetic examples. It is not a tested recipe, a product comparison or a claim of personal baking trials. Start with a reliable recipe suited to your ingredients and equipment, and keep its method and safety instructions available throughout the process.
Begin with the recipe author's measurement system
[King Arthur Baking's recipe-success guide](https://www.kingarthurbaking.com/recipes/resources/recipe-success-guide) recommends following the stated ingredients, technique and pan size. It supplies measurement conventions for its own recipes, including 120 grams for a cup of its unbleached all-purpose flour. That is a named author's convention, not a universal rule that every ingredient or every recipe's cup weighs the same.
Its [flour-measuring guide](https://www.kingarthurbaking.com/blog/2023/10/13/how-to-measure-flour) explains that how densely flour is packed changes what fits into a cup. For weighing, it describes zeroing the scale with the empty vessel in place before adding flour. For volume measurement, it describes loosening the flour, spooning it into the cup and levelling the top. Use the recipe's own weights and instructions where provided rather than combining incompatible conversion assumptions.
These references provide a starting point for consistent measurement. They do not mean a scale can correct an unsuitable substitution, an unread recipe step or a different oven setting. Your notes should describe the whole attempt well enough to identify which of those questions needs attention.
Give each attempt its own short record
Write the recipe title, author or source link, date and batch number. If the recipe is online, note which version you used, especially if you have saved an older printout. A changed web page and an old handwritten copy can otherwise look like the same recipe when they are not.
Record the planned yield and the actual number of portions you made. Add the pan or tray you used, its dimensions if relevant and whether you followed the recipe's stated size. This gives your later observations context. A note that simply says too shallow does not tell you which equipment produced the result.
Leave three separate areas for the plan, deviations and observations. The plan records the recipe you intended to follow. Deviations record what changed during preparation. Observations describe the result after the appropriate cooking and cooling process. Keeping these areas separate prevents a later explanation from rewriting what happened.
A compact record can fit on one page. You do not need to measure everything or write a diary of every movement. Select the details that would help you repeat the attempt or explain it to someone else. If the form is so elaborate that you never complete it, simplify it.
Record quantities in a way you can compare
Copy the recipe's units carefully before beginning. Grams, ounces, fluid ounces, cups and spoons are not interchangeable labels. If you make a conversion, write the source or calculation beside it. Do not leave a bare number that could mean weight in one attempt and volume in the next.
Here is a hypothetical arithmetic example, not a recipe. Suppose the original quantity is 240 grams and your recorded quantity is 252 grams. The difference is 12 grams. Dividing 12 by 240 gives 0.05, or five percent. That calculation describes the quantity difference; it does not establish how the finished food will change or whether that difference is acceptable in a particular formula.
Similarly, if a written quantity is 300 grams and you intend to make half the stated amount, the arithmetic gives 150 grams. But that single calculation does not answer questions about pan choice, mixing, cooking time or whether the author recommends scaling the recipe. Keep the numerical change separate from the method questions it creates.
If you accidentally add more than planned, record the actual amount if you know it. Do not leave the intended quantity in the notes and later wonder why the result cannot be repeated. If you do not know the amount, write uncertain rather than inventing precision.
Use the scale as a measuring tool, not a substitute for attention
Check that your scale is using the intended unit and that you understand its controls. Follow its instructions about placement and capacity. A bowl can obscure a display or make a button awkward to reach, so arrange the workspace before you start adding ingredients.
For a complicated mixture, you may prefer weighing an ingredient separately before adding it to the main bowl. That creates an opportunity to correct a measuring mistake before ingredients are combined. Whether that extra bowl is worthwhile depends on the recipe and your own workflow; it is not a requirement for every bake.
Be especially careful when switching between a quantity displayed on the scale and a quantity already written in your notes. A zeroed display describes what is added after that reset, not necessarily the total contents of the bowl. Give yourself a clear place to mark each completed ingredient.
Do not assume a display's smallest shown increment means the device measures every tiny quantity reliably. Use equipment and methods suitable for the recipe, and consult the scale's specifications when necessary. This article has not tested any scale and does not recommend a particular model or purchase.
Keep substitutions visible
Write down any ingredient substitution before mixing if you can. Include what you replaced, what you used instead and the amount. A label such as used different flour is less helpful than the actual product type and quantity. Keep the packaging available long enough to record the information accurately.
A substitution changes the question you are testing. If a recipe was written for one ingredient and you used another, the outcome is not a clean test of the original recipe. That does not make experimentation wrong. It means the notes should identify the experiment honestly.
Avoid changing several unrelated things when your aim is to understand one problem. Imagine a fictional baker who changes the flour, reduces the sugar, uses a different pan and shortens the bake. If the result differs, those notes cannot isolate which change mattered most. The next attempt may need a simpler plan.
For dietary needs or allergies, choose a recipe and ingredients appropriate to those requirements and follow reliable guidance. A casual substitution is not evidence that a finished food is safe for a particular person. Keep ingredient suitability separate from whether the texture looks successful.
Note the sequence and the moments that matter
Before starting, read the whole recipe and mark any waiting, chilling, resting or cooling stages. This helps you plan the session and avoid discovering an important delay halfway through. Your notes can then show whether you followed those stages or changed them.
Record actual times at a few meaningful points rather than relying only on a timer's planned duration. For example, note when a tray entered the oven and when you removed it. If you paused preparation because an ingredient was missing, record that too. The interruption may explain why two attempts were not as similar as you remember.
Write the oven setting and any relevant mode exactly as used. If you changed a setting during the bake, note when and why. Do not retrospectively write the recommended setting simply because that was what you intended to select. The record is useful only when it describes the attempt that happened.
Follow the recipe's directions for judging completion and safe handling. A note-taking exercise should never encourage you to stop cooking early merely to create a comparison. The goal is to understand a properly completed preparation, not to experiment with unsafe tasting or handling.
Keep raw-flour safety outside the tasting exercise
The [FDA explains that most flour is a raw food](https://www.fda.gov/consumers/consumer-updates/flour-raw-food-and-other-safety-facts) and advises against tasting uncooked flour, dough or batter. It also advises against letting children use raw dough as play material. Raw flour can carry harmful bacteria; cooking or baking according to appropriate directions matters.
That means a sensory note should be taken at the appropriate finished stage, not by tasting raw mixture to predict the result. Follow the recipe and food-safety instructions for preparation, cooking, cooling and storage. This guide does not supply universal temperatures or storage times for the many different foods a reader might make.
If you involve children in keeping a baking notebook, give them an age-appropriate recording task and supervise the kitchen activity. They can help name the batch or describe the finished appearance without treating raw ingredients as a tasting activity. Keep practical safety instructions more prominent than the desire to complete an experiment.
Describe the finished result without diagnosing too quickly
Choose specific observations. Instead of writing bad, describe what you noticed: the portions were uneven, the centre and edge differed, or the finished texture was not what you expected. Record when you made the observation, including whether the food had cooled as the recipe instructed.
Separate preference from a preparation problem. You may dislike a flavour even when the recipe was followed accurately. That is a useful personal preference note, but it is not proof that the recipe failed. Likewise, a different appearance does not by itself establish that one ingredient caused the difference.
Photograph the finished batch if it helps, using roughly comparable lighting and viewpoints across attempts. A photograph can preserve shape or colour, but it cannot record every feature of texture or taste. Add words for the details the image does not capture. Avoid editing the image in ways that conceal the feature you want to compare.
Finish the observation section before writing your explanation. This small pause can help keep a first guess from taking over the record. You can then list one or two possible explanations and identify which detail you would need to check before deciding between them.
Plan one useful next attempt
Return to the original recipe and compare it with the deviations you recorded. Select a next step that answers a specific question. It might be using the stated pan, measuring with the supplied gram quantities or following a rest stage you previously shortened. The choice depends on your actual notes.
Imagine a fictional batch record with a different pan and an uncertain flour quantity. Rather than rewriting the whole recipe, the baker decides to reproduce the author's stated setup first. That next attempt offers a clearer comparison. It still does not guarantee success, but it reduces the number of unexplained changes.
Write the next-step decision at the bottom of the page. At the next session, read it before beginning. Otherwise, the useful lesson may remain buried in an old notebook while you repeat the same uncertainty. A record earns its place in the kitchen when it changes the preparation you make next.
If repeated attempts remain confusing, share the recipe source and concise notes with someone qualified to advise on that kind of baking. Explain what you changed and what you observed. A precise question is easier to answer than a photograph with no quantities, method or timing attached.
A compact checklist for the next batch
Before mixing, confirm the recipe version, ingredient quantities and units, equipment and planned yield. During preparation, mark completed ingredients and record meaningful deviations. After the recipe's cooking and cooling steps, describe the result and choose one question for next time.
Do not turn the checklist into a scorecard for yourself. An imperfect batch can still produce useful information, while an excellent batch with no record may be difficult to reproduce. The purpose is practical continuity between attempts, not a claim that every kitchen decision must be measured.
Keep the original recipe separate from your personal adaptation. If an adaptation becomes your preferred version, give it a clear name and date. That preserves the distinction between the author's tested instructions and the changes you have chosen for your own kitchen.
Conclusion: make the next attempt easier to understand
A useful baking notebook records the few details that memory tends to blur: quantities, units, substitutions, equipment, sequence and the finished result. It connects a particular outcome with the choices that produced that attempt, while leaving room for uncertainty about cause.
Start small. Keep one clear page, follow a reliable recipe and choose one meaningful comparison for the next batch. Accurate notes will not do the baking for you, but they can make your questions clearer and your experiments easier to interpret.
Sources and research note
Research checked October 27, 2026. Primary references: King Arthur Baking's [recipe-success guide](https://www.kingarthurbaking.com/recipes/resources/recipe-success-guide) and [flour-measuring explanation](https://www.kingarthurbaking.com/blog/2023/10/13/how-to-measure-flour), plus the [FDA's raw-flour safety guidance](https://www.fda.gov/consumers/consumer-updates/flour-raw-food-and-other-safety-facts). Brief source summaries are followed by original workflow suggestions and hypothetical calculations. No recipe was cooked or product tested for this article. The original AI-generated conceptual cover illustrates preparation tools, not evidence of a tested batch.