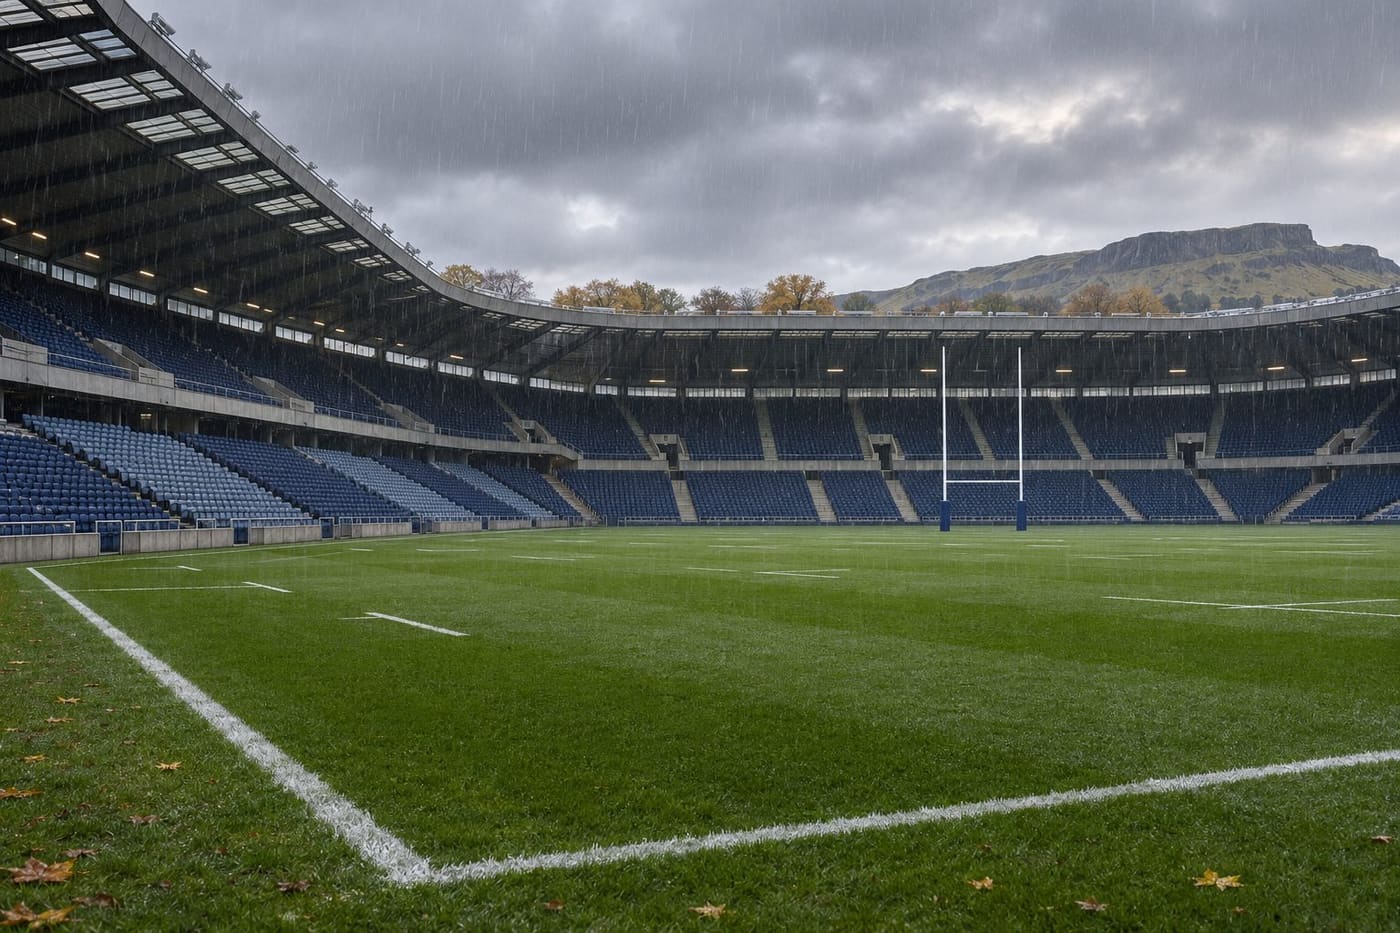
New Zealand beat Scotland 43–21 at Scottish Gas Murrayfield in Edinburgh on 7 November 2026. At half-time the All Blacks led only 24–21. Scotland had already scored three tries through hooker Ewan Ashman, and New Zealand had twice lost a player to the sin-bin. Then the visitors scored all 19 points after the break. The sequence that opened that second-half gap ran through scrum-half Cam Roigard, inside centre Jordie Barrett and wing Josh Moorby. Fullback Beauden Barrett later scored his second try of the match and reached 50 Test tries. Both teams' reports support the score and the distinction between the two Barretts. Scottish Rugby match report and All Blacks match report.
Why Jordie Barrett matters to the scoreline
The New Zealand team announcement placed Jordie at number 12, between Damian McKenzie at fly-half and Quinn Tupaea at outside centre. Moorby started on the left wing and Beauden at fullback. Those shirt numbers provide a useful reference if you are jumping straight into the highlights. One Barrett was a link across the attacking line, and the other twice finished scoring moves. The team sheet also lists Scott Barrett in the second row, so the surname alone can describe a third player in the same match. New Zealand team announcement.
In the All Blacks' account of Moorby's try, Roigard moved the ball a long way to Jordie, who sent another long pass to Moorby on the left. The passes brought an uncovered finisher into the play with relatively little time for defenders to follow the ball out. The scoreboard credited Moorby with the try. The value of Jordie's involvement was the change in where Scotland had to defend. A reader following only the scorers would see a wing's name and miss the pass that delivered the chance. All Blacks match report.
Watch the first receiver and the wing in separate passes through a replay. In the first viewing, track when Jordie receives and releases. In the second, start with Moorby's position and see how far the ball travels to reach him. That is enough to identify how New Zealand used the width without having to assign an individual defender responsibility from a single camera angle. The public match reports establish the passing sequence, while a wide view is better suited to judging who could close the space.
Scotland's three tries kept the opening half close
Wallace Sititi put New Zealand ahead early from a lineout move. Ashman responded from a Scotland lineout drive, and Finn Russell converted to put the hosts in front. A rolling maul lets teammates bind around the ball carrier and drive together. Near the try line it tests whether the defence can stop the whole moving group, and it can leave the hooker carrying the ball at the back of the formation. The home report describes the maul as the route to Scotland's opening try. Scottish Rugby match report.
New Zealand found several routes to the line before the break. Ethan de Groot crossed after a tap penalty and Codie Taylor scored from a lineout drive. Beauden Barrett's first try came after McKenzie sent a long pass into the backline. Ashman completed his hat-trick before half-time. The New Zealand report describes two of his tries coming through the lineout drive and the other through a gap after the ball had moved toward midfield. Looking at the tries together makes clear how much Scotland were getting out of their hooker, even as the point of attack changed. All Blacks match report.
Russell converted all three Scottish tries. With five points per try and two per successful conversion, Scotland's three converted tries were worth 21 points. New Zealand's four tries and two first-half conversions made 24. In practical terms, a Scottish penalty goal would have been enough to draw level at that stage. A converted Scottish try could have put the hosts in front. That is the match situation from which the second half began, and it explains why the first score after the interval carried more weight than the eventual 22-point margin suggests. Scottish Rugby match report.
How New Zealand turned territory into points
The All Blacks' account says their scrum earned a penalty on their own feed near the Scottish line early in the second half. The first opportunity did not yield a try. Another Scottish infringement in front of the posts preceded the movement that ended with Moorby crossing. Those events belong together when reviewing the swing in pressure. The attacking side first got an opportunity close to the line, held the initiative and then chose to move the ball wide. That is a different picture from seeing a long pass in isolation. All Blacks match report.
A scrum near the line forces the defending forwards to begin the phase tied into a set formation. A penalty can then give the attacking team a choice about how it restarts. The reports here give enough evidence to identify the succession of scrum pressure, infringement and attack, but a score recap by itself cannot show whether the edge was available on an earlier phase. For a highlights viewer, the practical cue is to rewind before the try and follow how many decisions Scotland had to make around their own line before the ball reached Moorby.
Scotland captain Sione Tuipulotu then received a yellow card. New Zealand used a lineout to mount another attack, with Tupaea involved before McKenzie linked with Beauden Barrett. The fullback crossed for his second try, and New Zealand's lead reached 36–21. That left Scotland needing more than two converted tries to get in front. The All Blacks ultimately added a third second-half try through replacement hooker Asafo Aumua, whose score followed a turnover penalty won by Tupaea and a lineout sequence. All Blacks match report.
What the two yellow-card periods tell us
New Zealand's report lists first-half yellow cards for Peter Lakai and Sititi. Scottish pressure brought repeated infringements and helped create the conditions in which Ashman scored. But New Zealand also scored while the first half was unfolding under those disruptions. If you are comparing the impact of cards across the match, start with the possession and territory surrounding each incident. A team with an extra player near the opposition try line can threaten both a close drive and the edge. A team with the same numerical advantage far from the line still has to move into a scoring position. Scottish Rugby match report.
Tuipulotu's card arrived after New Zealand had already scored through Moorby. This order matters because it separates the visitors' initial second-half breakthrough from the opportunity that followed the Scottish card. The lineout attack ending in Beauden's milestone came in that subsequent period. The New Zealand report also credits a Barrett defensive intervention with helping stop a lengthy Scotland attack in the second half. The hosts were still creating sequences worth defending even after their scoring had stopped. All Blacks match report.
A simple way to judge those spells is to note the scoreboard when the card is shown, where the next significant possession begins and how the possession ends. That gives a more reliable account of momentum than counting cards alone. It also allows the clips to be read in their proper order. A second-half try after a card and an earlier second-half try before it both widen the same lead, but they arise from different match conditions.
Beauden Barrett's 50th Test try
Beauden's first score came in the opening half. His second came after the break and brought up his 50th Test try, according to the All Blacks. On that second score, New Zealand used lineout ball and linked passes through midfield before the fullback finished. It was a different scoring chain from the one that put Moorby away. Moorby's try is the clearest place to look for Jordie's contribution in the published scoring descriptions, while Beauden's two finishes account for ten points of New Zealand's total before conversions. All Blacks match report.
For anyone comparing the Barretts' roles, the team announcement gives the starting positions and the match report gives the actions. There is a useful distinction between where a player starts on the team sheet and where he turns up in a move. A fullback can arrive in an attacking line to take a pass, and a centre can move the ball quickly enough to leave a winger the last action. Calling both players by their first and last names makes the replay sequence easier to follow, particularly in this match with three members of the family in the starting lineup. New Zealand team announcement.
How to read the final margin
The teams scored seven tries between them before half-time and three after it. Scotland's three all came in the first period. New Zealand's seven in total were spread among six scorers, with Beauden the only visitor to score twice. Four successful McKenzie conversions brought the visitors to 43. This arithmetic offers a quick check on the score and helps readers make sense of a highlights package that jumps around. When a clip starts at 24–21, the relevant question is which team can score first after the break. At 36–21 the question shifts to how Scotland can create enough separate scoring chances to catch up. Scottish Rugby match report and All Blacks match report.
There is also a distinction between getting near the line and making the final play count. Scottish Rugby credits the visitors with pulling away from a narrow half-time margin. The All Blacks' report describes the visitors using a goal-line stop and a later defensive intervention to deny promising Scottish attacks. That account supports a narrower reading of the scoreless half. Scotland still threatened, while New Zealand controlled the scoreboard by keeping those threats out and converting enough of their own field position. A possession figure would need a separate verified source to add precision to that assessment.
To compare the two halves using a scorecard, make separate columns for tries, conversions and penalties. The first-half columns show why Scotland could stay within three points with one fewer try: Russell added six points, while New Zealand added four from conversions in that period. In the second half, New Zealand collected fifteen points from three tries and four more from conversions. That comparison also shows how a strong conversion record can keep a team close while tries are coming, but cannot compensate for a half in which it has no scores to convert.
Why this match appeared in New Zealand search
Google Trends' New Zealand Trending Now table showed “jordie barrett” as active at 10K+ at retrieval on 8 November 2026 at 00:01 UTC. It was fifth in the displayed past-24-hour table sorted by descending search volume, with all categories and all trends selected. The related terms included the Scotland match. The election result and the Kiwis' game against Tonga already had separate coverage, while higher rows concerning a named individual and an election figure did not offer a suitable distinct topic for this slot. The volume is Google's displayed threshold for the search row. It gives a reason to answer the search query while the two unions' reports establish the rugby facts. Google Trends New Zealand.
The Tonga result was from rugby league and had its own competition, teams and scoring chronology. Readers arriving from one New Zealand result and looking for the other can check the team names as well as the score. The Kiwis played Tonga, while the All Blacks played Scotland in rugby union. Both matches were attracting attention in the same national search window, which makes it easy to confuse them in a feed containing shortened headlines. Related coverage of the Kiwis and Tonga.
The three moments worth revisiting
Start with Ashman's first-half tries and compare how Scotland used a close lineout drive and a later midfield opening. Then go to the first New Zealand try after the interval and watch the ball move from Roigard through Jordie to Moorby. Finish with the lineout attack that produced Beauden's milestone. These clips show three different things a bare scoreline cannot convey on its own: why the hosts stayed close, how the visitors widened the gap and where the individual milestone fit into that change. Together they explain the move from a three-point contest at the break to a 43–21 result.
Sources consulted 8 November 2026, Bangladesh time. The illustration depicts a generic rugby stadium.