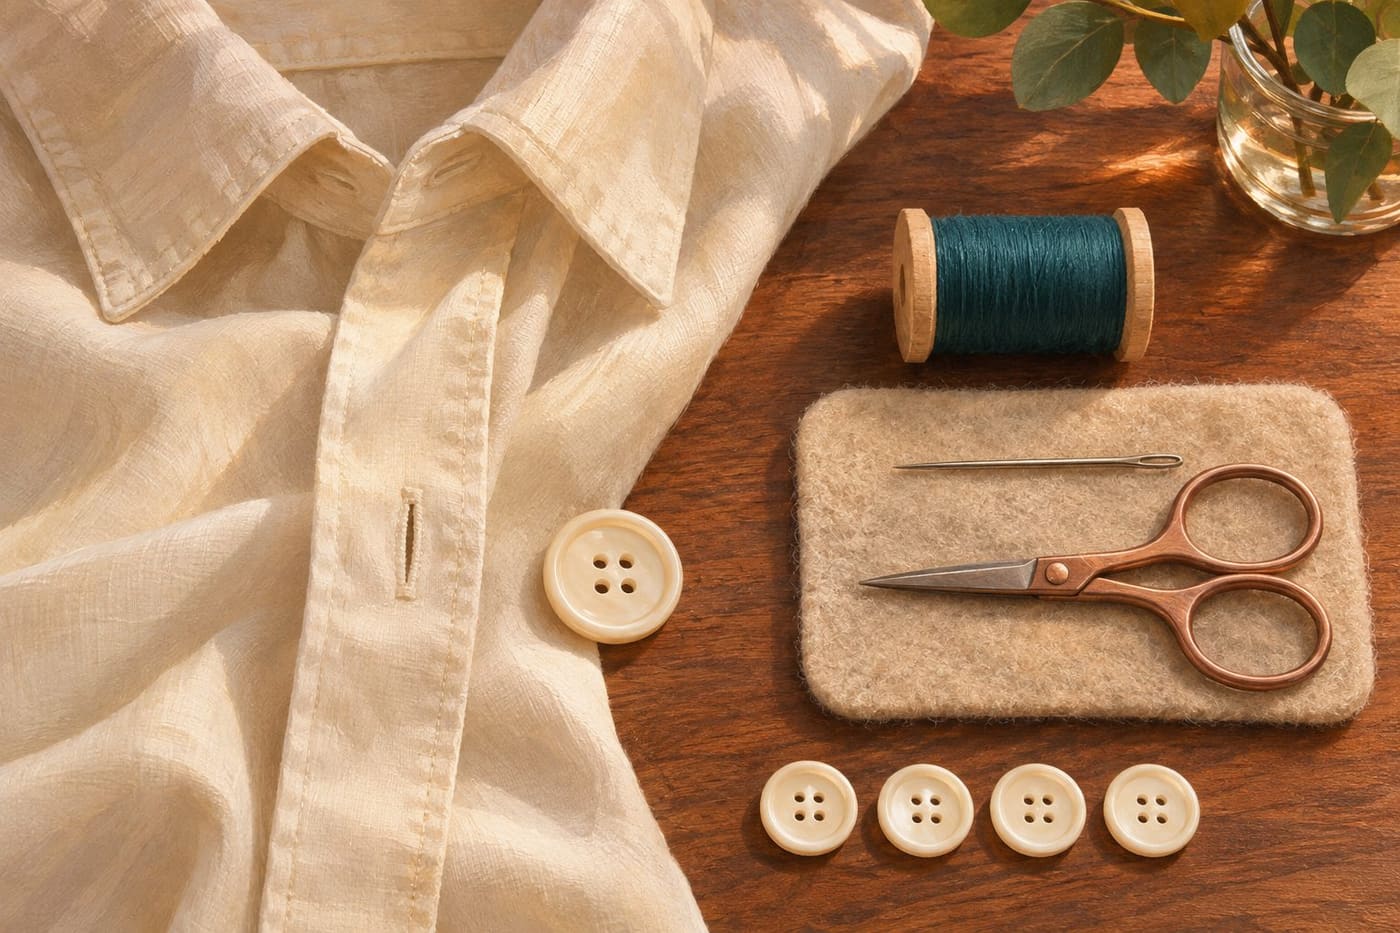
A shirt can spend weeks at the back of a chair because one button is loose. The repair itself may be small, but getting started involves several decisions. You need to know whether the fabric is sound, where the button belongs and how much room to leave underneath it. A button sewn tightly in the wrong place can be secure and still make the shirt awkward to wear.
This guide follows an ordinary flat button on a woven shirt, with two or four holes through its face. It begins with inspection and ends with fastening the shirt, because the purpose of the repair is a closure that works comfortably. If the fabric is torn, the garment is valuable or the fastening has an unfamiliar construction, the useful first step may be to show it to someone with repair experience.
Inspect the fabric before choosing the stitch
Spread the shirt on a well-lit surface and look at the point where the button was attached. You may find short thread ends, a visible stitch mark or a small area of damaged cloth. Compare that spot with the neighboring buttons. Is the fabric about the same thickness, or has repeated pulling worn a hole? A sound attachment needs fabric that can hold the new stitches.
If a hole has formed, sewing the button through the same weakened area can leave the original problem unresolved. The cloth may need reinforcement before the button goes back. Set aside time for that separate repair or ask a tailor to assess it. On a first attempt, an intact shirt with a simple missing button is an easier project than a damaged cuff or a frayed fastening.
Look at the button too. A chipped edge can catch on the buttonhole, and a crack near a hole can damage the thread. A replacement should fit the existing opening as well as resemble the other buttons. Compare the diameter, thickness and shape with a neighboring one. A spare found inside the shirt can be a useful match, but check it rather than assuming every spare on a garment serves the same position.
The University of Florida IFAS button-sewing guide distinguishes flat buttons from buttons with a built-in shank. A shank button has a loop or projection behind it through which the attachment passes. That construction calls for its own approach. Identifying the type prevents you from applying a flat-button method to a different fastening.
Find the position with the shirt lying naturally
Before removing the remaining old thread, note where it enters the fabric. A quick photograph can preserve the position and the stitch pattern. When removing loose ends, work carefully so that a cut through thread does not become a cut through cloth. Stop if you cannot tell which is which.
Close the neighboring buttons and lay the front edges of the shirt in their normal relationship. Check the missing button’s position against its buttonhole. Avoid stretching one edge to force a match. A shirt that lies flat while open can reveal a misplaced button when the front is closed. The relevant test is whether the closure sits where the design expects it to sit.
A removable fabric marker can help if it is suitable for the fabric and used according to its instructions. Test the marking method in an inconspicuous place first. On a patterned shirt, record whether the original placement aligns with a stripe or check. That gives you another reference without replacing the buttonhole as the functional guide.
Oklahoma State University’s sewing technique cards include a button section that places a sew-through button in relation to the existing buttonhole and allows room for a thread shank. Use the adjacent fastenings as a construction reference, especially when the shirt has a folded front band or an unusual amount of thickness.
Set up a small, usable work area
You need the button, a hand-sewing needle that passes easily through its holes, suitable thread and small scissors. A needle that is too thick for the button will make every pass harder. Thread that is much bulkier than the original can crowd the holes before the attachment is finished. Match the thread color to the existing work when you want the repair to blend in.
Put the tools on a tray or another defined surface. Keep a pincushion or needle holder nearby, and put the needle there whenever you pause. A folded piece of cloth can make small pale buttons easier to see on a light table. If the room is shared, choose a moment when the tools can remain in one place while you work.
Thread the needle with a manageable length and secure the ends for the method you are using. A very long thread can tangle and make the task feel more complicated than it is. If this is your first attempt, practise passing the needle through the button and a scrap of similar cloth. You can check the needle size and learn how the thread behaves before making stitches in the shirt.
Take the garment off to do the sewing. Keep the work where you can see both sides and move the fabric without pulling it against your body. When you finish, account for the needle and any temporary spacer before putting the shirt away. That is part of completing the repair, just as checking the fastening is.
Sew the flat button with room underneath
For a two-hole flat button, bring the thread through the fabric at the marked position and through one hole. Pass down through the other hole and into the fabric. Repeat the path with several neat passes, keeping the button centered. A temporary spacer, such as the toothpick described in the UF IFAS fact sheet, helps leave room beneath a flat button. Follow the illustrated source when learning the hand movements.
For a four-hole button, choose a pattern that matches its neighbors, such as crossed threads or two parallel bars. Work through both pairs of holes so the attachment is balanced. The objective is a secure attachment with consistent tension. Pulling harder on one pair can tip the button, while loose loops can snag or leave it unstable.
When the passes are complete, remove the spacer. Bring the needle between the fabric and the button and wrap the thread around the connecting stitches to form the thread shank. Then pass to the inside and secure the thread before trimming. The small column of thread gives the fastened layer somewhere to sit beneath the button.
This condensed description is a route through the repair, with the linked extension illustrations available for detail. Pause after the first few passes to inspect the underside and position. It is easier to restart a small amount of work than to finish an attachment that has wandered away from the mark.
Let the neighboring buttons guide the amount of room
A flat button needs enough room to accommodate the fabric around the buttonhole when the shirt is closed. Look at an intact button while it is fastened. Notice the space below it and how the surrounding cloth lies. A thin shirt front and a thick folded cuff may need different clearance, even on the same garment.
If you sew the button flush against the fabric, it may be difficult to push through the opening or may pinch the buttonhole layer. If you leave too much slack, it can hang away from the shirt or catch on something. Neither problem is solved by simply adding more thread to the top. Inspect the spacing and the tension that created it.
Consider a hypothetical repair on a cotton shirt. The new button looks tidy, but closing it creates a small pucker that the other buttons do not produce. Before assuming the whole shirt has changed shape, unfasten it and compare the new attachment with its neighbors. Is it slightly off the old mark? Does it sit much closer to the cloth? Those checks narrow the problem.
If the position is wrong, carefully remove the new thread and start again at the correct point. If the fabric has been damaged during the attempt, stop and reassess the cloth. Repeating the same stitch in a weak spot can turn a small repair into a larger one. The inspection stage remains useful even after work has begun.
Test the closure before returning the shirt to use
Lay the shirt flat and close the repaired button. It should pass through the buttonhole without forcing, hold the intended overlap and release without catching the new thread. Compare the front with the neighboring closures. Look for a fresh pucker, a tilted button or a loop of thread that has escaped the intended path.
Then examine the reverse side. Check that you have not accidentally sewn through an extra fold that should remain free. A front band can hide several layers from view while you work. What looks like a tidy repair from above can catch a loose facing or another part of the shirt underneath. This is a reason to check both sides throughout the sewing.
Try the shirt on after putting the needle and scissors away. Move normally and check how the closure sits. A cuff repair should be tested with the cuff closed, and a front button should be tested with the adjacent buttons fastened. A repair that works when the fabric is unstressed may behave differently in its ordinary position.
Finally, give the attachment a gentle inspection with your fingers. Look for movement caused by loose stitches and for damage to the button itself. Avoid a forceful pull test that places more strain on the cloth than normal use. The practical question is whether the closure functions and the stitches remain orderly under ordinary handling.
Use the result to diagnose a recurring problem
A button that repeatedly loosens at the same place deserves another look. The attachment may have been weak, but the closure may also experience unusual strain or catch during handling. Compare the problem location with the rest of the shirt. A button on a snug cuff, for instance, has a different job from a spare attached inside a seam.
Record what failed if you need someone else to help. A short explanation such as “the thread broke but the cloth is intact” describes a different repair from “the button pulled through a hole in the fabric.” A photograph before removing the loose thread can help preserve that distinction. It gives the next person evidence about the attachment and the surrounding material.
For laundering decisions, use the garment’s own care instructions. Our guide to reading a care label before sorting the laundry explains how to keep those instructions with the item. A newly attached button does not change the fabric’s care requirements.
If the button remains secure but the shirt still pulls at the closure, assess the fit or ask for help with that separate issue. An attachment can be mechanically sound while the garment’s position or shape makes it uncomfortable. That is another reason to include the wearing test instead of judging success solely by the appearance of the stitches.
Keep the next repair easy to begin
Store spare buttons in a small labeled packet with a description of the garment. Include enough detail to distinguish two similar shirts. If you save the original care tag or a photograph of the item, keep that information where it can be found with the spare. A loose collection of nearly identical buttons can create another decision before the next repair starts.
Keep the basic tools together and replenish supplies when you use them. A repair box does not need every type of thread or fastening. The useful contents are the items that let you inspect, mark, stitch and finish the repairs you actually make. Store needles and scissors securely, particularly where children or pets could reach them.
After a first repair, make a brief note of what helped. You might remember that a certain needle passed through the small holes easily or that a photograph preserved the original pattern. Those details make the next attempt easier to start. They also help you recognize when a new project is different enough to need another method.
A completed button repair has three visible results. The button sits in the right place, the thread gives the closure enough room and the shirt fastens comfortably. Checking each of those results turns a few stitches into a repair you can use, while leaving a clear route back if something needs adjustment.
Sources consulted 5 November 2026. The cotton-shirt troubleshooting example is hypothetical. The original illustration is a conceptual mending still life and does not demonstrate a stitch sequence.