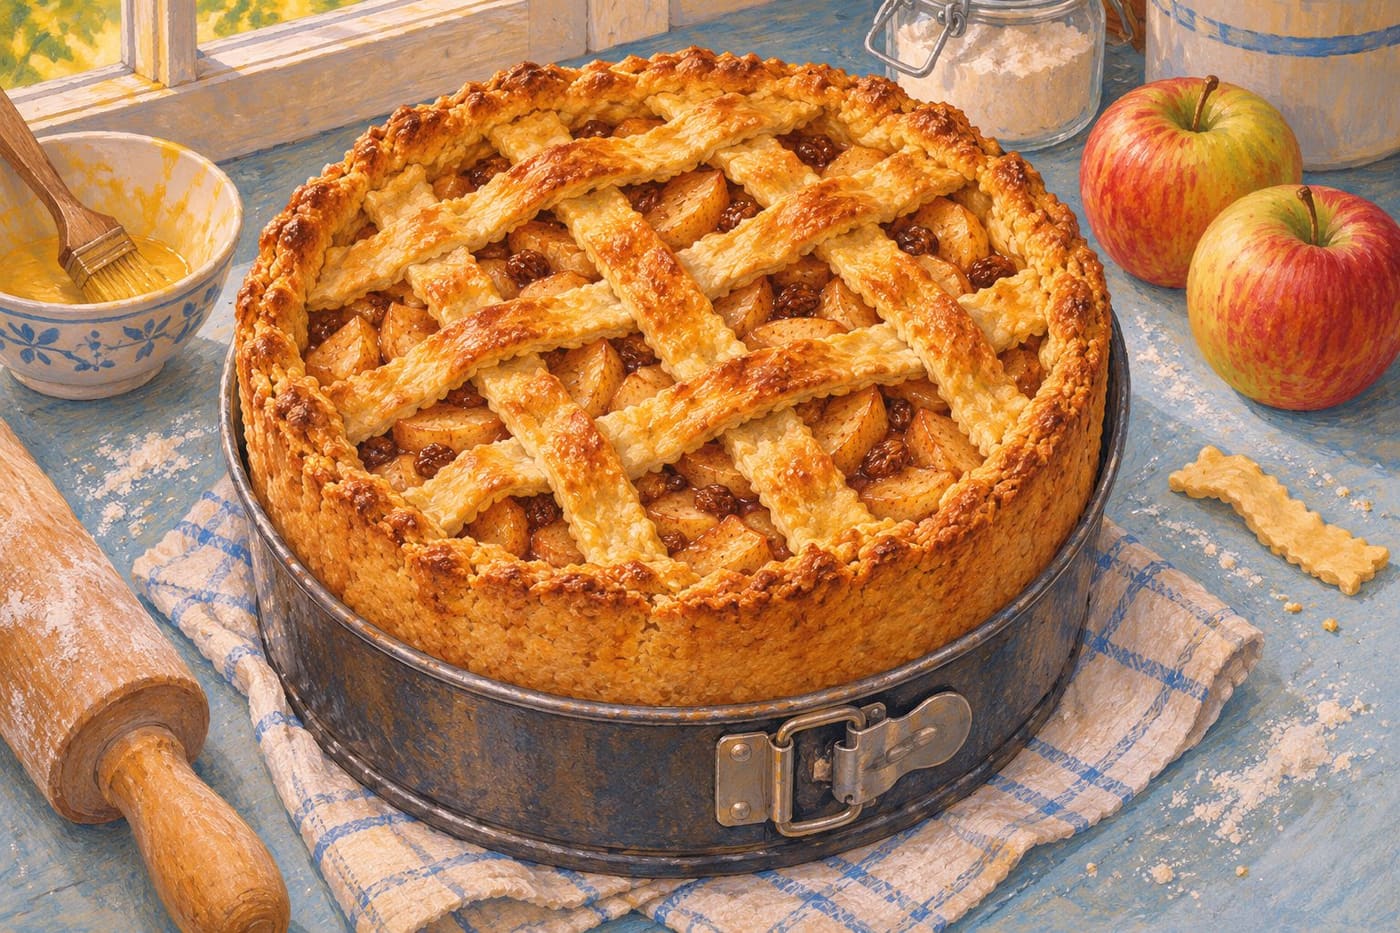
A deep Dutch apple tart gives the baker three things to build with the same batch of dough. There is a base, a wall that holds the apples, and an open lattice across the top. The wall can take more dough than it first appears to need, especially in a deep pan. If you start cutting the lattice before you know how much the shell requires, you may find yourself trying to close a crack with a strip you had already set aside for the top.
This guide is an assembly companion to a recipe you choose. It follows a fictional home baker, Noor, from reading the pan size to cutting the first slice. The aim is to make each stage easier to inspect. The linked recipes supply their own ingredient lists and baking instructions, and the geometric examples here are illustrations for planning.
Read the pan and dough instructions together
Janny de Moor's Dutch apple pie recipe specifies a 28-centimetre springform and sets aside a third of the dough for the lattice. Its filling uses sliced tart apples and its base has breadcrumbs. Taalhuis Amsterdam's account and recipe for appeltaart gives another example of the Dutch pastry. Look at the pan, the shape of the shell and the method for preparing the fruit before deciding which recipe to use. Those instructions belong together.
A springform has a removable ring, which changes how you can get a tall tart out after baking. It still helps to know where the bottom meets the ring. On an empty pan, check that the base sits securely and the latch is closed. Measure the inside diameter across the base if you are unsure of the size. A pan that looks close to the one in the recipe can still change how far the dough must reach.
Consider an illustrative comparison of two circular pans with 24- and 28-centimetre internal diameters. The 28-centimetre base has roughly 36 percent more area, because the ratio is 28 squared divided by 24 squared. If the pastry wall has the same height in both pans, its circumference is only about 17 percent greater in the wider one. The base and wall therefore do not scale by the same amount. The lattice spans change again depending on how you space the strips. These figures explain why a pan change can be visible in the assembly even before the tart reaches the oven.
Noor is following a recipe written for the pan available at home. This lets her focus on the assembly. If you use a different size, look for a recipe developed for it or plan the adjustment openly. Filling depth, dough thickness and baking behaviour can all change. An area calculation can help you understand where the extra pastry goes, but it cannot tell you by itself how long a differently shaped tart should bake.
Reserve a top portion and leave room to adjust
Before lining the pan, Noor separates the portion her recipe assigns to the top. She puts it where she can see it but keeps it away from the scraps. This is a planning reserve. If the recipe divides the dough differently, use that division as your starting point. The shell should reach the specified height with a continuous join where base and wall meet.
Look at the bottom under good light. A bare patch is easy to see. A thin area may show up as a change in colour or texture when you compare it with the dough beside it. Check all the way around the inside corner. You can use a small piece of dough from a thick spot to repair a gap before the filling goes in. Press the join gently enough to close it without thinning the surrounding pastry.
For a deep shell, rotate the pan on the counter while you inspect the rim. From one angle the pastry can look even when the back edge is noticeably lower. The aim is a wall that reaches the intended height and holds together. The top edge can have slight variation and still do its job. Focus on gaps and on any section that is so thick it uses dough needed somewhere else.
Noor leaves a small scrap aside for a possible repair after she lays the strips. That small reserve is helpful if she discovers a damaged edge. If there is very little dough left, she can design a more open lattice from the dedicated top portion. She plans the number of strips before rolling every scrap into a long piece.
Prepare the apples for the shell you actually have
Read how your chosen recipe cuts and seasons the fruit. De Moor's version uses thin tart-apple slices and arranges them in overlapping circles. A different recipe may specify pieces of another shape and use other additions. If you substitute fruit, keep track of the change. Apples differ in texture, and the results depend in part on how the fruit was cut and how much juice it releases.
Before adding fruit, check what the recipe does at the bottom of the shell. The breadcrumbs in de Moor's recipe are an example of a planned layer between pastry and apples. Use the layer the recipe calls for, if any, and avoid treating it as a cure for a pan full of unexpected liquid. If the recipe describes what to do with any juice released during preparation, follow that instruction. The assembly is easier when you have read that part before the bowl is sitting beside the pastry.
Arrange the fruit with attention to the height around the edge. A few tall pieces can support a strip in the middle while leaving the ends far from the rim. Noor checks her first layer for large spaces, then fits smaller pieces where they suit the recipe. When the filling is in place, she looks across the surface at counter height. The aim is to see whether the planned lattice can rest across the apples and still meet the pastry wall.
If the bowl holds more fruit than the pan can comfortably take, pause and check the recipe and the pan. The difference could come from fruit size, trimming, pan depth or how the pieces sit together. Forcing the last pieces into one corner can change the shape of the top. Make a note of what you used so you can compare the finished tart with the recipe you followed.
Plan the lattice from the longest span outward
Look down at the filled pan and picture the longest strip passing through the centre. The strips near the sides have shorter distances to cross. Noor sketches three lines one way and three the other on a scrap of paper. She decides where the strips should meet the rim and leaves some visible fruit between them. The sketch is a guide to using the dough she has, and she can simplify it while the strips are still on the board.
A circle makes the change in length easy to see. On a fictional 24-centimetre base viewed directly from above, the centre line spans 24 centimetres. A line parallel to it and nine centimetres from the centre spans about 16 centimetres. These are straight distances across the circle. The actual strip may need more length to follow the surface and meet the rim. The numbers simply show why cutting every strip to the same length can leave useful pastry on the board.
Cut longer pieces first and move them with enough support that they do not stretch under their own weight. If a strip breaks, see whether a shorter piece can be cut from it for the edge. A simpler crisscross can use the remaining dough efficiently. Follow the pattern and finish your recipe specifies, paying particular attention to the points where the strips join the rim.
Before baking, stand back and look at the assembled tart. Check for a strip end that is folded into itself, a gap in the wall or a lump of pastry where several scraps were added. This is the last time you can correct those parts easily. Any glaze or other finish belongs where your recipe places it, since recipes differ in whether the top is treated before or after baking.
Use the recipe’s baking cues and give the tart time to cool
Write down the oven setting and shelf position specified by the recipe you chose. De Moor's version supplies particular instructions for its 28-centimetre pan, while another recipe may use a different setting and method. Follow one complete recipe for those decisions. If you change the pan, oven mode or filling depth, mark the change so you know what you are comparing when you look at the finished tart.
As baking progresses, look at the colour where strips cross and along the outer edge. Use the recipe's stated cues as a group. A thin exposed edge can colour sooner than a thicker join. If you decide the tart needs longer based on your recipe, record the extra time. Note where the visible change occurred instead of relying on a single description such as “golden.”
When the tart leaves the oven, follow the recipe’s directions for cooling and releasing the ring. Plan the transfer before opening the latch. Clear a level space and make sure you can support the base. If a piece of the wall seems attached to the ring, take care around that point. A successful release depends in part on what the wall can support at that moment.
After the first slice, look at a cut face. See how the apple pieces sit and whether the base holds beneath them. If the wall is much thicker than the base, write that down before the next bake. The cross section can reveal something the uncut tart hid. Noor notes that her next attempt should start with a more even wall because the top used the planned amount and the base already held its shape.
If you plan to serve the tart at a particular time, work backward from the cut. Give the cooling step the time called for by your recipe, then allow for oven preheating and assembly. In Noor’s next bake, she plans to have the counter clear before making the dough so the shell can stay in its pan while she cuts the strips. She also prepares a separate space for the hot pan. Those two decisions make it easier to follow the recipe’s timing because she has already sorted out where each part of the work will happen.
Keep notes you can use for the next tart
Write the recipe name, the pan's inside diameter, how the dough was divided and what happened when the tart was cut. Add one change to try next time. For example, Noor could keep the same pan and fruit preparation and change only the way she spreads the wall. If she also changes the apples and baking position, it will be harder to tell which change affected the result.
For a broader example of recording changes between bakes, see Baking Notes That Help. For appeltaart, the most helpful observations often happen before the oven is on. Note whether the shell needed a repair, whether the filling rose above the rim and whether the longest strips reached without stretching. Those details give you a practical starting point the next time you open the recipe.
The goal is to look at the tart as a series of manageable checks. Fit the pan to the recipe. Give the shell an even join. Set aside the lattice dough and cut its longest strips first. Cool and release according to the chosen instructions. Once you can identify what happened at each stage, you have something specific to change when you bake the tart again.
Sources consulted 7 November 2026. The linked Dutch appeltaart recipes provide examples of the pastry and its assembly. Noor, the pan comparisons and the suggested observations are original worked examples.